Prompt
Template 1 of 3Redesign this mudroom while preserving the visible envelope, fixed openings, camera position, and realistic scale. Use a calm contemporary direction with balanced materials, practical storage, and uncluttered circulation.
Make the daily arrival feel more organized. Use a mudroom photo to explore a place for coats, shoes, bags and sitting down, while keeping the route through the entry easy to understand.
Show the room clearly, including the doors, windows and fixed features that should guide the concept.
Choose a style and lighting mood. Add the details you want to keep or change.
Review the credit cost, generate your concept and download a useful result.
Use this mudroom design generator to explore a direction around your source image and these priorities. Focus on an orderly arrival and drop zone, shoe, coat, bag, and gear storage, durable easy-clean circulation.
A mudroom has to work while people are arriving, leaving and carrying things.
A row of identical cubbies can be attractive, but household members may carry very different gear.
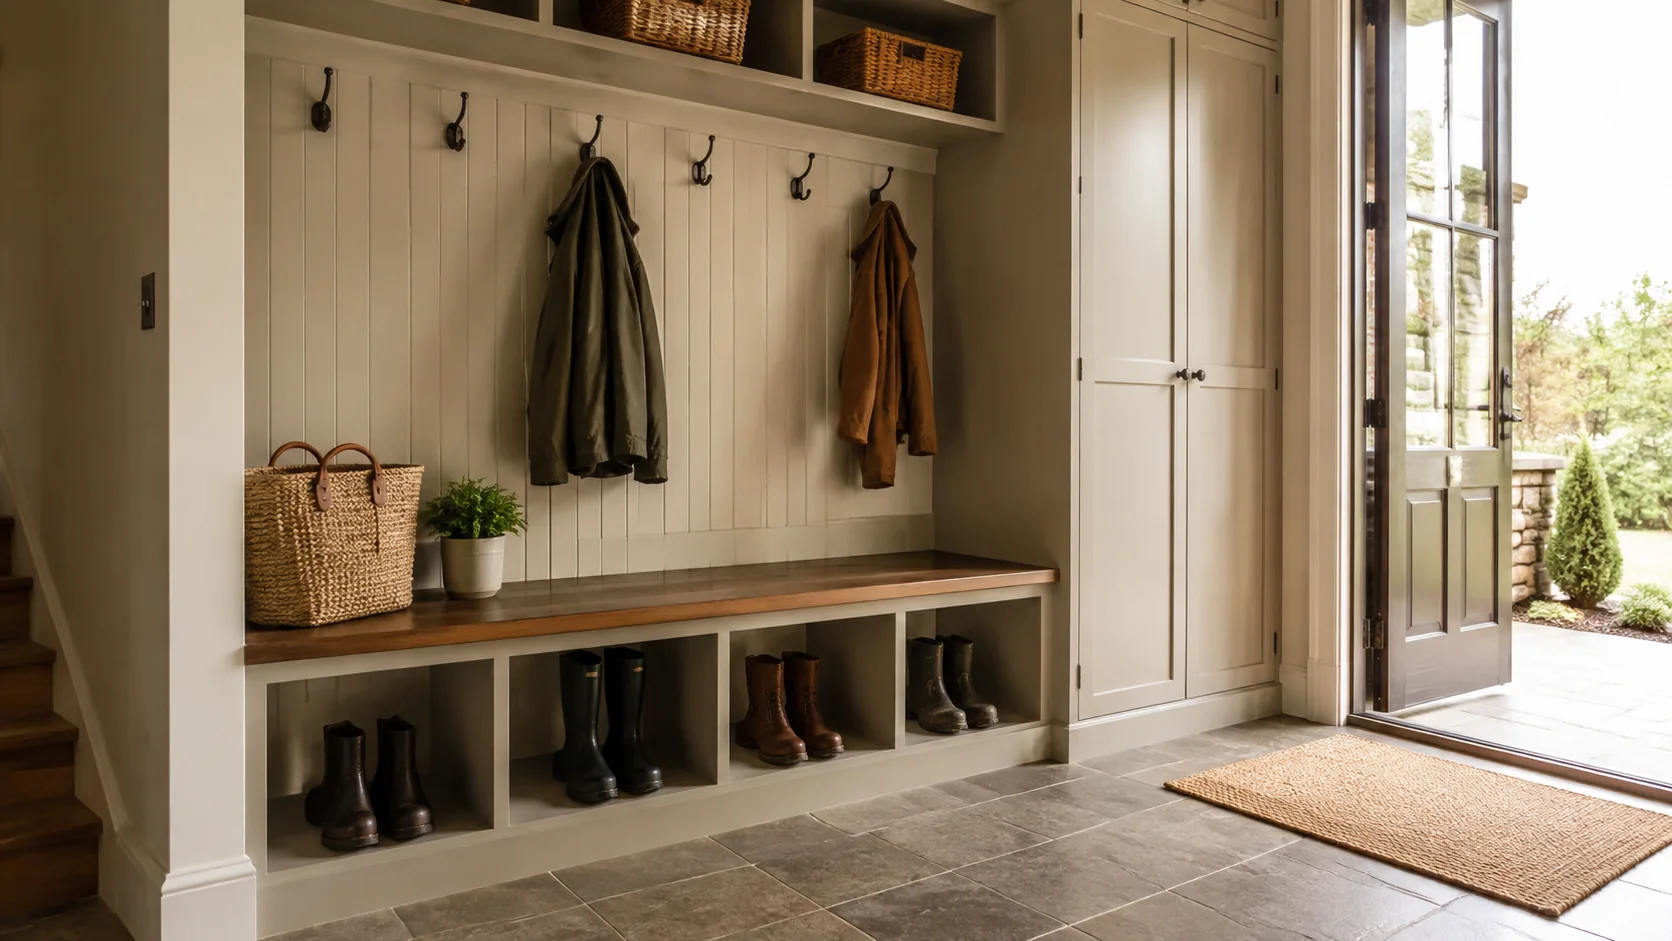
Boots, umbrellas and pet leads introduce a different kind of clutter from everyday coats.
A bench may be most useful for removing boots, helping a child or setting down shopping.
Show both the exterior and interior connections where possible, and describe the busiest moment of the day. A bench that looks balanced in a photograph may sit in the middle of that movement. Review the entry route before judging the symmetry of the storage wall.
Create my design conceptList school bags, work bags, long coats and seasonal equipment separately. Explain whether shared overflow storage is needed. The concept can explore the visual arrangement of open hooks and closed cabinets, while real quantities determine how much storage should be built.
Create my design conceptTell the generator what comes through the door and whether items need to dry before being put away. Compare easy-looking floor finishes and a distinct shoe area. Material durability, drainage and cleaning practicality still depend on the real products and conditions you choose.
Create my design conceptA family drops bags and shoes beside the kitchen because the current entry has only a few hooks. Their photo shows a clear wall opposite a frequently used door.
Keep one main direction per attempt so you can understand which change influenced the result. Inspect the completed concept against your original brief. Download a useful result, or change one requirement and generate another option for comparison.
Save notes on the finishes, furniture relationships and atmosphere you want to keep. Bring those notes, the concept and your actual measurements to the person helping you specify or implement the project.
Explain its purpose rather than asking for seating as a decorative feature. In a tight entry, compare a shorter perch with a longer built-in arrangement. Inspect doors, radiators and access panels in the concept so storage does not visually cover something the household needs to reach.
A focused brief asks for individual bag storage, a shared bench and a place for wet footwear. The concept helps them choose a storage rhythm that feels organized without making the arrival path narrower.
Photograph from the exterior or interior doorway so the traffic path, adjacent doors, floor, and usable storage walls are clear.
Upload a JPG, PNG or WebP image up to 10 MB. Use a level photograph with readable detail; heavy filters and extreme wide-angle distortion can make the reference harder to interpret.
List household size, seasonal gear, pet needs, seating preferences, and which doors, windows, radiators, or panels must stay accessible. Replace the example details below with the facts of your own space.
Example brief: Turn this entry into an organized family mudroom. Preserve both doorways and keep a clear route through the space. Suggest a compact bench, reachable coat hooks, separate bag storage and a defined area for wet shoes. Use durable-looking muted cabinetry and a simple floor finish.
Include shared overflow storage, but avoid tall cabinets that cover the visible radiator or access panel.
Check the selected room type, choose a design style and set the lighting mood. Add your priorities in Custom Requirements, including retained furniture and fixed elements.
Choose from the available aspect ratios and output resolutions, then review the displayed credit cost before generating.
Check egress, door swings, heating clearance, wet footwear drainage, and wall anchoring before installing built-in benches or tall cabinets.
Describe the limited depth and the items that genuinely need to stay there. Ask for a restrained entry arrangement, such as shallow storage or a smaller seat, then measure the passage and door swings. The image may make a narrow space look more generous, so actual circulation must guide the final furniture choice.
The reference and your requirements guide the design, but exact preservation is not guaranteed. Check windows, doors, fixed features and retained furniture against the original. If something important changes, revise the brief or take another reference photo before developing that option.
You receive a generated design image that you can review and download. It is a visual reference for your project, not an editable CAD drawing, an exact shopping list or a measured specification. Use completed results to develop and communicate your preferred direction.
No. Page imagery illustrates a possible design direction. Your result is generated from your own photo and requirements, so the pictured furniture and finishes are not a guaranteed outcome.

Bring the existing space and a focused brief together. Explore a visual direction you can review, refine and discuss before making the next project decision.
Create my design concept