Prompt
Template 1 of 3Redesign this kids' room while preserving the visible envelope, fixed openings, camera position, and realistic scale. Use a calm contemporary direction with balanced materials, practical storage, and uncluttered circulation.
Explore a kids room that supports today’s routines and leaves room for change. Start with a photo and describe the child’s age, activities, storage needs and the furniture you want to keep.
Show the room clearly, including the doors, windows and fixed features that should guide the concept.
Choose a style and lighting mood. Add the details you want to keep or change.
Review the credit cost, generate your concept and download a useful result.
Use this kids room design generator to explore a direction around your source image and these priorities. Focus on age-appropriate sleep and play zones, reachable toy and clothing storage, safe, adaptable furniture placement.
Sleeping, dressing, drawing and floor play can compete in a small room.
Ask for reachable toy and book storage, with a different place for items an adult needs to manage.
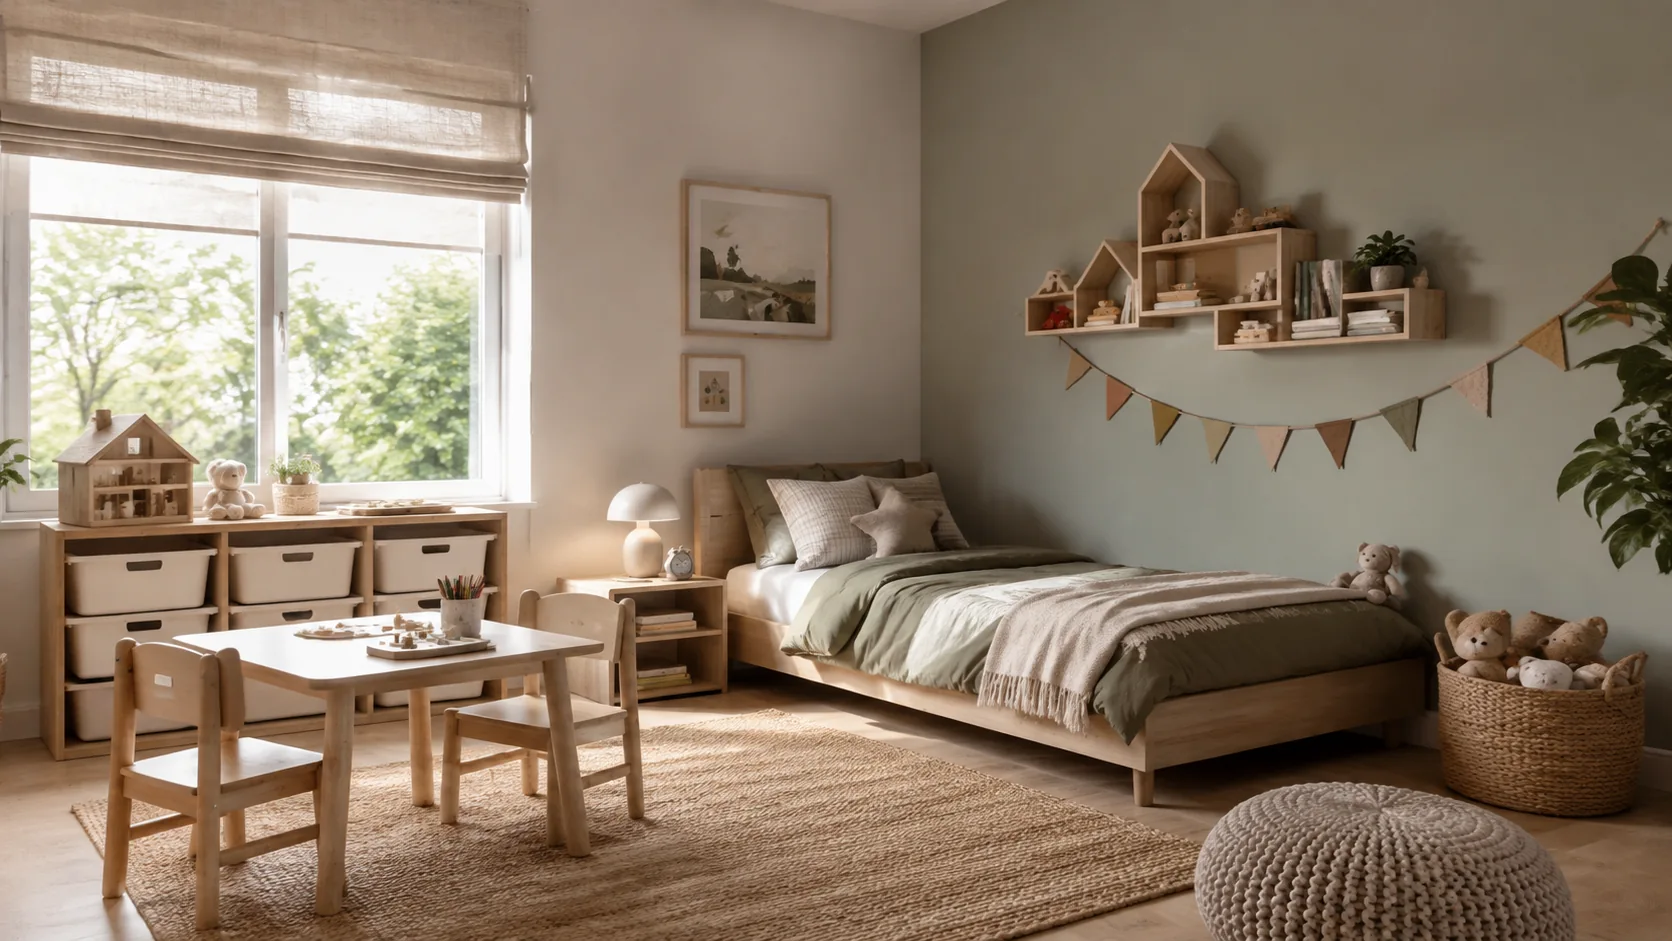
A favorite animal, sport or color can guide textiles, art and accents without determining every permanent surface.
Generated scenes can introduce tall furniture, dangling cords or elevated beds that look appealing but require careful assessment.
Describe the activities that happen most often and which ones need a permanent surface. A preschooler may need open floor space more than a large desk; an older child may value a quieter homework corner.
Create my design conceptVisually simple groups of bins or low shelves can communicate organization better than a wall filled with tiny compartments. Explain which toys remain in use and which collections deserve display. Actual reach heights, stability and fixings must be checked in the room.
Create my design conceptCompare a flexible background with a stronger theme before choosing paint or furniture. A concept that feels exciting today should still allow books, hobbies and preferences to evolve.
Create my design conceptA family is replacing a cot and needs better storage for books, clothes and building toys. The photo shows a usable wardrobe and a window they want to keep clear.
Keep one main direction per attempt so you can understand which change influenced the result. Inspect the completed concept against your original brief. Download a useful result, or change one requirement and generate another option for comparison.
Save notes on the finishes, furniture relationships and atmosphere you want to keep. Bring those notes, the concept and your actual measurements to the person helping you specify or implement the project.
The concept should reflect a real day rather than a collection of decorative themes.
Keep the child’s input specific: a reading nook or drawing surface is more useful than a vague theme.
Ask for the sleep and play arrangement you intend, then inspect the actual furniture type and window relationships. The image is a conversation starter about a room’s character. It is not evidence that a child can use every pictured object safely.
Their brief asks for a low bed, an open play area and a small creative surface. Comparing concepts helps them choose a consistent palette while keeping expensive furniture decisions separate from changing interests.
Use a wide view that shows the bed, play floor, storage wall, windows, radiator, outlets, and entry door.
Upload a JPG, PNG or WebP image up to 10 MB. Use a level photograph with readable detail; heavy filters and extreme wide-angle distortion can make the reference harder to interpret.
Include the child's age, current routines, favorite activities, storage problems, and features the room should grow with. Replace the example details below with the facts of your own space.
Example brief: Refresh this room for a school-age child who enjoys reading and drawing. Keep the current wardrobe, window and doorway. Suggest a low bed, reachable book storage, closed toy bins and a compact drawing desk. Use a warm neutral background with cheerful blue and yellow accents.
Leave a clear area for floor play and avoid elevated beds, elaborate climbing features or large decorative structures.
Check the selected room type, choose a design style and set the lighting mood. Add your priorities in Custom Requirements, including retained furniture and fixed elements.
Choose from the available aspect ratios and output resolutions, then review the displayed credit cost before generating.
A generated image cannot certify bunk beds, anchoring, window guards, cords, outlets, or material safety; an adult must verify every safety detail.
Yes. Describe both ages, the beds you intend to use, shared activities and any need for separate storage. Include both sleeping areas in the source photo if possible. Review the concept with the children and measure each furniture arrangement. Adult assessment of bed suitability, window access, anchoring and other safety details remains essential.
The reference and your requirements guide the design, but exact preservation is not guaranteed. Check windows, doors, fixed features and retained furniture against the original. If something important changes, revise the brief or take another reference photo before developing that option.
You receive a generated design image that you can review and download. It is a visual reference for your project, not an editable CAD drawing, an exact shopping list or a measured specification. Use completed results to develop and communicate your preferred direction.
No. Page imagery illustrates a possible design direction. Your result is generated from your own photo and requirements, so the pictured furniture and finishes are not a guaranteed outcome.

Bring the existing space and a focused brief together. Explore a visual direction you can review, refine and discuss before making the next project decision.
Create my design concept