Prompt
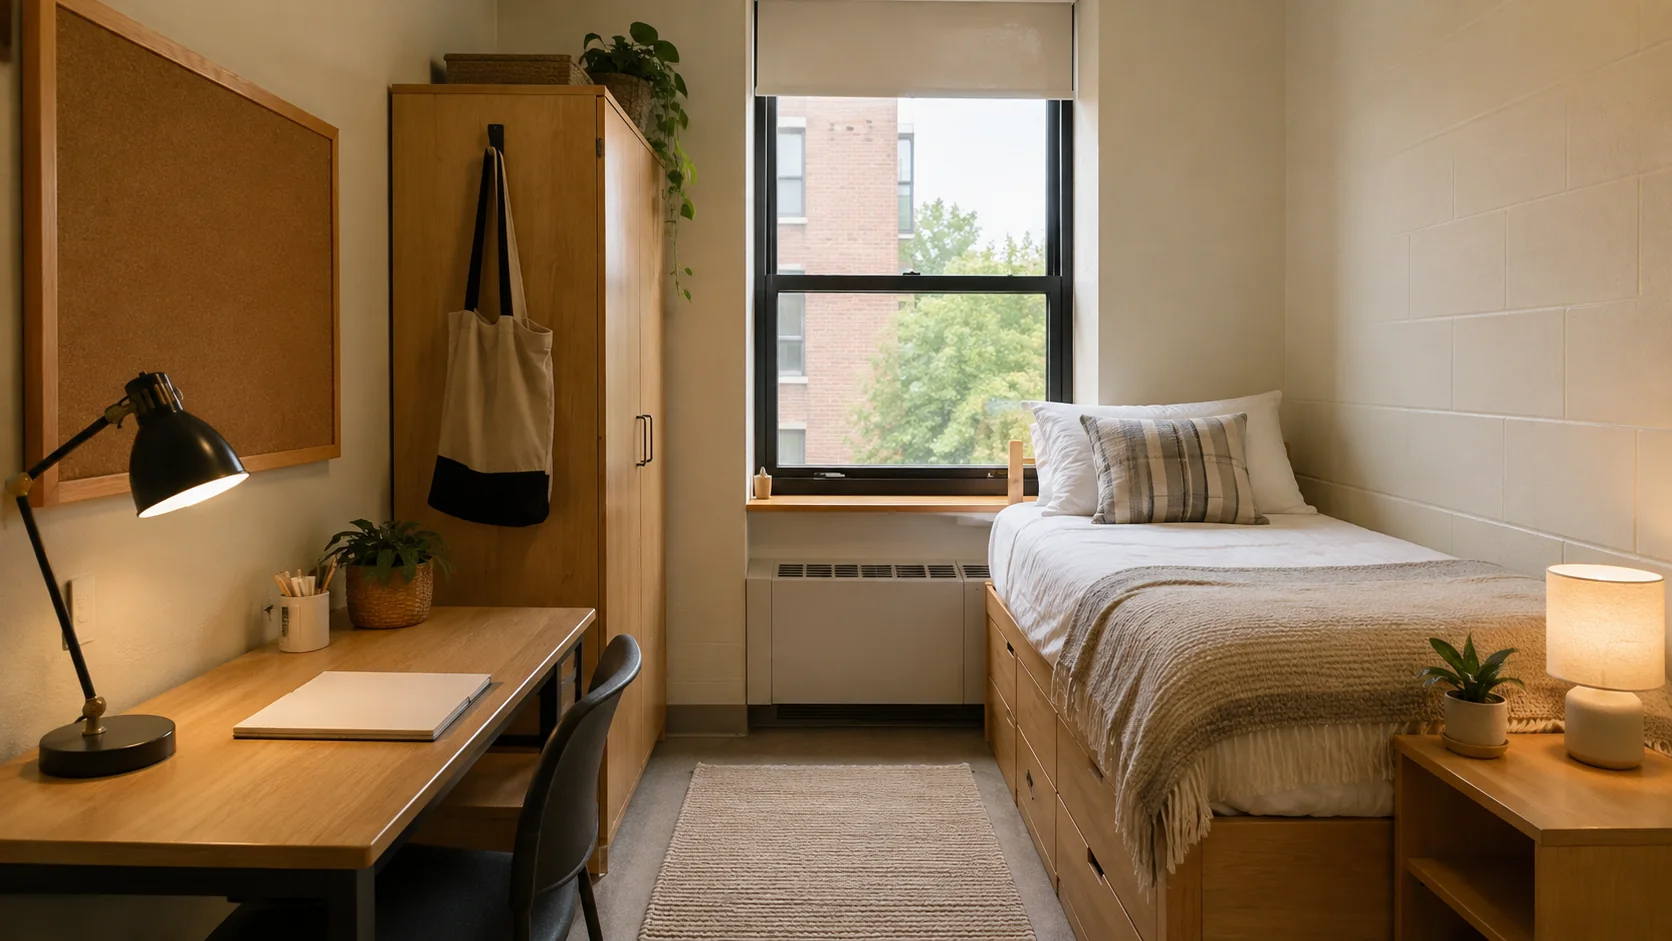
Template 1 of 3Redesign this dorm room while preserving the visible envelope, fixed openings, camera position, and realistic scale. Use a calm contemporary direction with balanced materials, practical storage, and uncluttered circulation.
Explore a dorm room that feels personal while respecting the furniture and space you have. Upload a photo and describe study habits, roommate needs and the changes your residence actually allows.
Show the room clearly, including the doors, windows and fixed features that should guide the concept.
Choose a style and lighting mood. Add the details you want to keep or change.
Review the credit cost, generate your concept and download a useful result.
Use this dorm room design generator to explore a direction around your source image and these priorities. Focus on compact sleep, study, and social zones, vertical and under-bed storage, rental-safe personal expression.
University-provided beds, desks and wardrobes may determine nearly the whole layout.
A desk needs room for the equipment and materials used on a normal evening.
Roommates may want different colors and sleeping routines.
Removable-looking decor, layered bedding and a few visible personal items can change the atmosphere without a renovation.
List them as retained items and show their relationship to doors and windows in your photo. A concept that replaces every piece with custom cabinetry does little for a student moving in.
Create my design conceptExplain whether you work from a laptop, multiple books or practical course supplies. Ask for a visually calmer surface and a defined storage area near it. The image can suggest organization, but a tidy concept should not remove the materials you need to study.
Create my design conceptA shared base palette can help the room feel coherent while textiles and personal objects distinguish each side. State whether both beds and desks must remain separate.
Create my design conceptTwo students have matching desks and single beds but different preferences for color. Their photo shows the full room from the doorway.
Keep one main direction per attempt so you can understand which change influenced the result. Inspect the completed concept against your original brief. Download a useful result, or change one requirement and generate another option for comparison.
Save notes on the finishes, furniture relationships and atmosphere you want to keep. Bring those notes, the concept and your actual measurements to the person helping you specify or implement the project.
Focus the brief on bedding, portable storage, desk accessories and other changes within your actual scope.
Review access to common storage and the entrance, rather than assuming a symmetrical arrangement gives each person equally useful space.
Describe the specific colors or interests you want to express and avoid a long list of competing themes. Check residence policies before acting on any pictured fixing, curtain, lighting product or bed adjustment, even when it appears temporary in the rendering.
A practical brief keeps all provided furniture, gives both study surfaces a quiet backdrop and uses distinct bedding colors within a shared neutral scheme. The concept helps them agree on common storage and decor before bringing extra furniture into a limited room.
Stand at the entrance and include both beds if shared, the desks, wardrobes, windows, and every fixed university-provided item.
Upload a JPG, PNG or WebP image up to 10 MB. Use a level photograph with readable detail; heavy filters and extreme wide-angle distortion can make the reference harder to interpret.
State the room rules, furniture that cannot move, roommate needs, study habits, and removable decor or storage you can actually use. Replace the example details below with the facts of your own space.
Example brief: Refresh this shared dorm room without replacing the provided beds, desks or wardrobes. Keep the entrance and window clear. Suggest coordinated bedding with two different accent colors, compact portable storage and calm study surfaces. Use a welcoming contemporary style with simple personal decor.
Avoid permanent built-ins, wall alterations, lofting beds or adding bulky lounge furniture that would reduce shared floor space.
Check the selected room type, choose a design style and set the lighting mood. Add your priorities in Custom Requirements, including retained furniture and fixed elements.
Choose from the available aspect ratios and output resolutions, then review the displayed credit cost before generating.
Follow residence rules, fire-safety requirements, provided-furniture policies, and real clearances instead of copying impossible alterations.
Yes. State those limits in the requirements and ask for changes through textiles, portable storage and permitted accessories. The AI may still introduce unsuitable details, so compare the result with your residence rules. Keep the useful color and organization ideas while rejecting anything that depends on an unapproved alteration.
The reference and your requirements guide the design, but exact preservation is not guaranteed. Check windows, doors, fixed features and retained furniture against the original. If something important changes, revise the brief or take another reference photo before developing that option.
You receive a generated design image that you can review and download. It is a visual reference for your project, not an editable CAD drawing, an exact shopping list or a measured specification. Use completed results to develop and communicate your preferred direction.
No. Page imagery illustrates a possible design direction. Your result is generated from your own photo and requirements, so the pictured furniture and finishes are not a guaranteed outcome.

Bring the existing space and a focused brief together. Explore a visual direction you can review, refine and discuss before making the next project decision.
Create my design concept