Prompt
Template 1 of 2Redesign this bookstore while preserving the visible envelope, fixed openings, camera position, and realistic scale. Use a calm contemporary direction with balanced materials, practical storage, and uncluttered circulation.
Shape a bookstore concept around the pleasure of finding the next book. Upload a shop photo to explore shelving character, discovery tables, reading areas and a checkout point that fits the browsing experience.
Show the room clearly, including the doors, windows and fixed features that should guide the concept.
Choose a style and lighting mood. Add the details you want to keep or change.
Review the credit cost, generate your concept and download a useful result.
Use this bookstore design generator to explore a direction around your source image and these priorities. Focus on discoverable browsing paths, flexible face-out and spine display, welcoming reading and checkout zones.
The entrance view can introduce new releases, local authors or a carefully selected theme.
Face-out books communicate covers clearly, while spine display supports a different quantity and browsing rhythm.
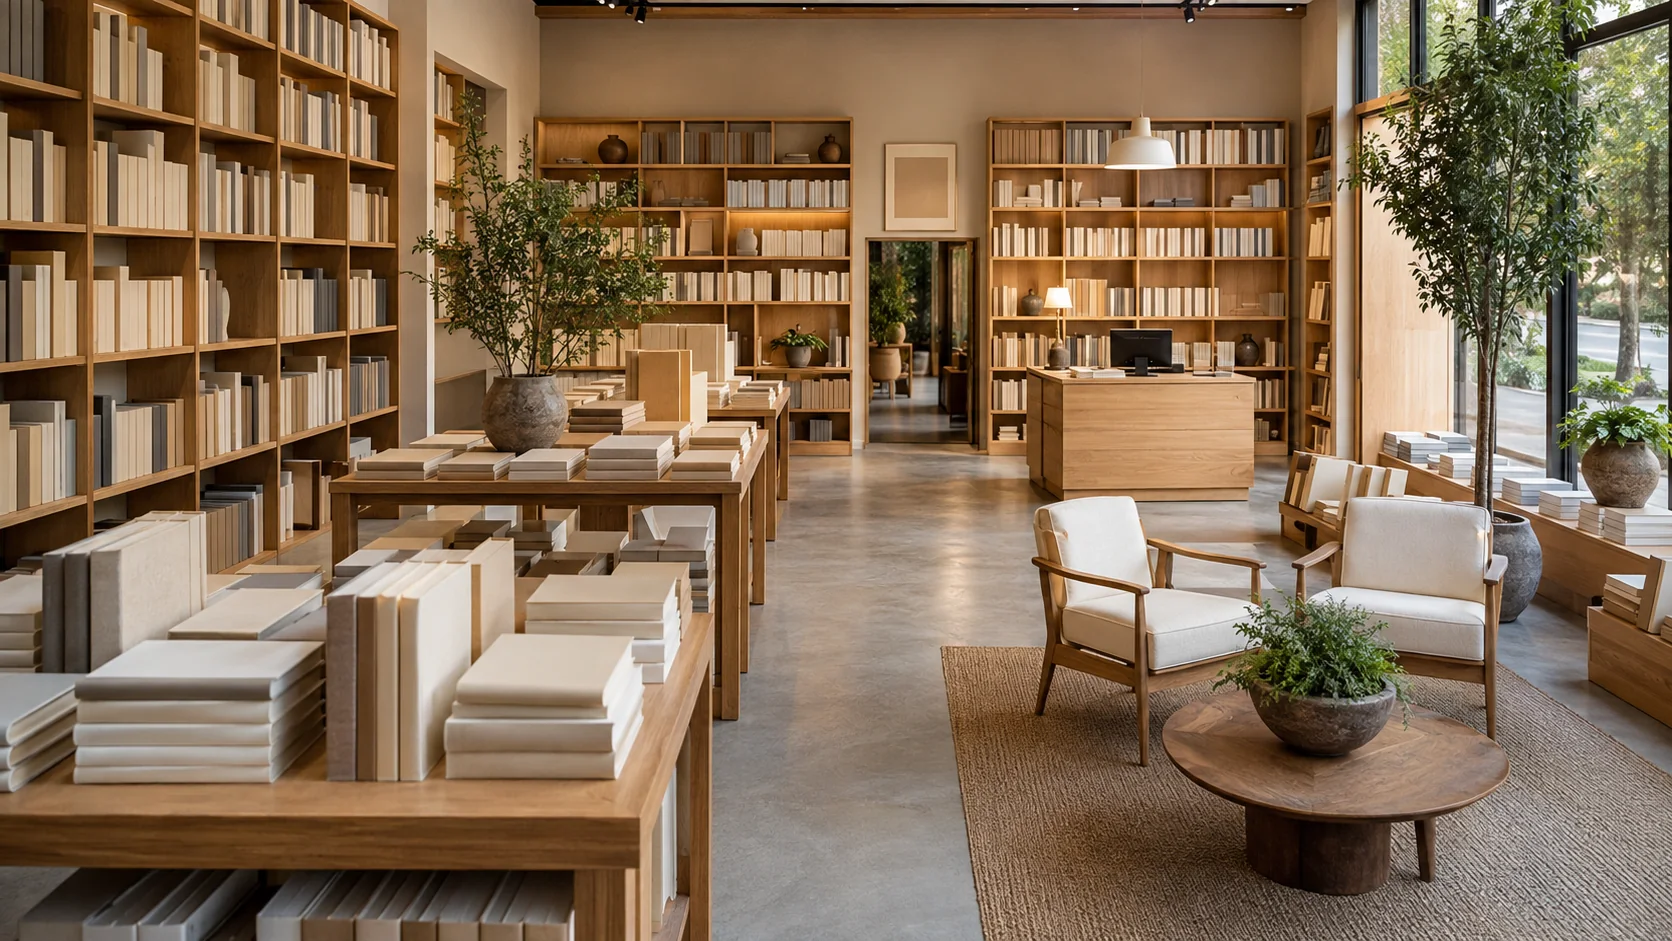
A reading chair, children’s corner or flexible event area changes how customers use the floor.
Different shelf heights, visible category areas and a clear counter can help organize the visual experience.
Explain which books should lead and how quickly customers need to understand the store. A strong focal table may be more useful than decorative shelving everywhere. Evaluate the concept as a sequence of discoveries rather than a room filled with evenly spaced books.
Create my design conceptDescribe your mix of inventory and the role of changing displays. A beautifully sparse image may suit a small curated selection but misrepresent a shop with substantial stock. The concept helps establish a visual approach; actual shelf capacity and load require measured planning.
Create my design conceptState whether these are central to the shop or occasional additions. Ask for a relationship between browsing and staying that feels intentional. Review whether seating overwhelms book display or hides the checkout point, especially in a compact store with few uninterrupted walls.
Create my design conceptAn owner is preparing a narrow retail unit for fiction, local interest and a children’s selection. The photo includes the front window, long side walls and the back counter.
Keep one main direction per attempt so you can understand which change influenced the result. Inspect the completed concept against your original brief. Download a useful result, or change one requirement and generate another option for comparison.
Save notes on the finishes, furniture relationships and atmosphere you want to keep. Bring those notes, the concept and your actual measurements to the person helping you specify or implement the project.
Explain which sections are important and whether a customer should see through the store from the entrance. AI-generated labels may be inaccurate, so treat text in the image as illustrative. Develop real wayfinding and category signage separately once the physical layout is established.
A focused concept places discovery near the entrance and gives children’s books a recognizable corner without turning the whole shop into an event venue. It becomes a useful visual brief for discussing fixtures and stock capacity.
Capture the entrance sightline, perimeter walls, columns, windows, checkout position, and widest possible view of the sales floor.
Upload a JPG, PNG or WebP image up to 10 MB. Use a level photograph with readable detail; heavy filters and extreme wide-angle distortion can make the reference harder to interpret.
Explain inventory mix, shelving height, events or seating, children's areas, checkout needs, and the browsing pace you want to create. Replace the example details below with the facts of your own space.
Example brief: Create a welcoming independent bookstore in this photographed unit. Keep the shopfront, counter position and existing columns. Suggest timber shelving, a focused new-release display near the entrance and a small children’s reading corner. Balance spine shelving with a few face-out displays.
Use warm neutral finishes and clear browsing sightlines, avoiding oversized lounge furniture or decorative objects that displace the books.
Check the selected room type, choose a design style and set the lighting mood. Add your priorities in Custom Requirements, including retained furniture and fixed elements.
Choose from the available aspect ratios and output resolutions, then review the displayed credit cost before generating.
Verify shelf loads, accessibility, aisle widths, egress, fire protection, security, and merchandising capacity with measured plans.
No. The image can communicate shelf character and approximate visual density, but it is not an inventory or fixture schedule. Count your stock categories and work with measured shelf dimensions, load limits and access requirements. Check that the final design supports the selection you intend to sell rather than the image’s decorative arrangement.
The reference and your requirements guide the design, but exact preservation is not guaranteed. Check windows, doors, fixed features and retained furniture against the original. If something important changes, revise the brief or take another reference photo before developing that option.
You receive a generated design image that you can review and download. It is a visual reference for your project, not an editable CAD drawing, an exact shopping list or a measured specification. Use completed results to develop and communicate your preferred direction.
No. Page imagery illustrates a possible design direction. Your result is generated from your own photo and requirements, so the pictured furniture and finishes are not a guaranteed outcome.

Bring the existing space and a focused brief together. Explore a visual direction you can review, refine and discuss before making the next project decision.
Create my design concept